How to Clean Sneakers: A Complete Guide to Keeping Your Kicks Fresh
I’ve ruined more sneakers than I care to admit. Bleach stains on suede, shrunken mesh from a dryer mishap, a pair of Jordan 1s that came out of the wash looking like they’d aged a decade. Every mistake taught me something, and after years of trial and error (plus a lot of research into what actually works), I’ve landed on a cleaning process that gets results without wrecking the shoe.
This guide covers everything I’ve learned. Materials matter, tools matter, and the order you do things in matters more than most people realize. Let’s get into it.
Why Proper Cleaning Technique Matters
Sneakers are made of layered materials that react differently to water, heat, and chemicals. Leather cracks if it dries out too fast. Suede stains permanently if you soak it. Mesh can shrink or lose shape in a washing machine. Treat every pair like a general-purpose shoe and you’ll eventually damage something you actually cared about.
The good news is that once you understand the basic principles, cleaning becomes fast and low-risk. I spend maybe ten minutes on a light cleaning and thirty on a deep one. That’s a small investment for a pair that looks new for years longer.
What You’ll Need
Before touching your shoes, gather your supplies. Having the right tools on hand prevents you from improvising with something that could damage the material.
- A soft-bristled brush (an old toothbrush works, but a dedicated shoe brush is better)
- A microfiber cloth or two
- Mild soap or a dedicated sneaker cleaner (avoid bleach-based products unless the shoe is all-white canvas)
- Lukewarm water
- A suede brush and eraser if you own suede or nubuck pairs
- Shoe trees or paper towels for stuffing
- A soft toothbrush for laces and midsoles
- Baking soda for odor control
I keep all of this in a small bin near my shoe rack. Cleaning becomes a habit instead of a chore when the gear is already in reach.
Step-by-Step Cleaning Process
1. Remove Laces and Insoles
Take the laces and insoles out before you do anything else. They hold dirt and sweat separately from the shoe body, and cleaning them on their own gets better results. Laces can go in a bowl of warm water with a bit of soap. Insoles usually need a light scrub and an air dry, never a machine wash.
2. Knock Off Loose Dirt
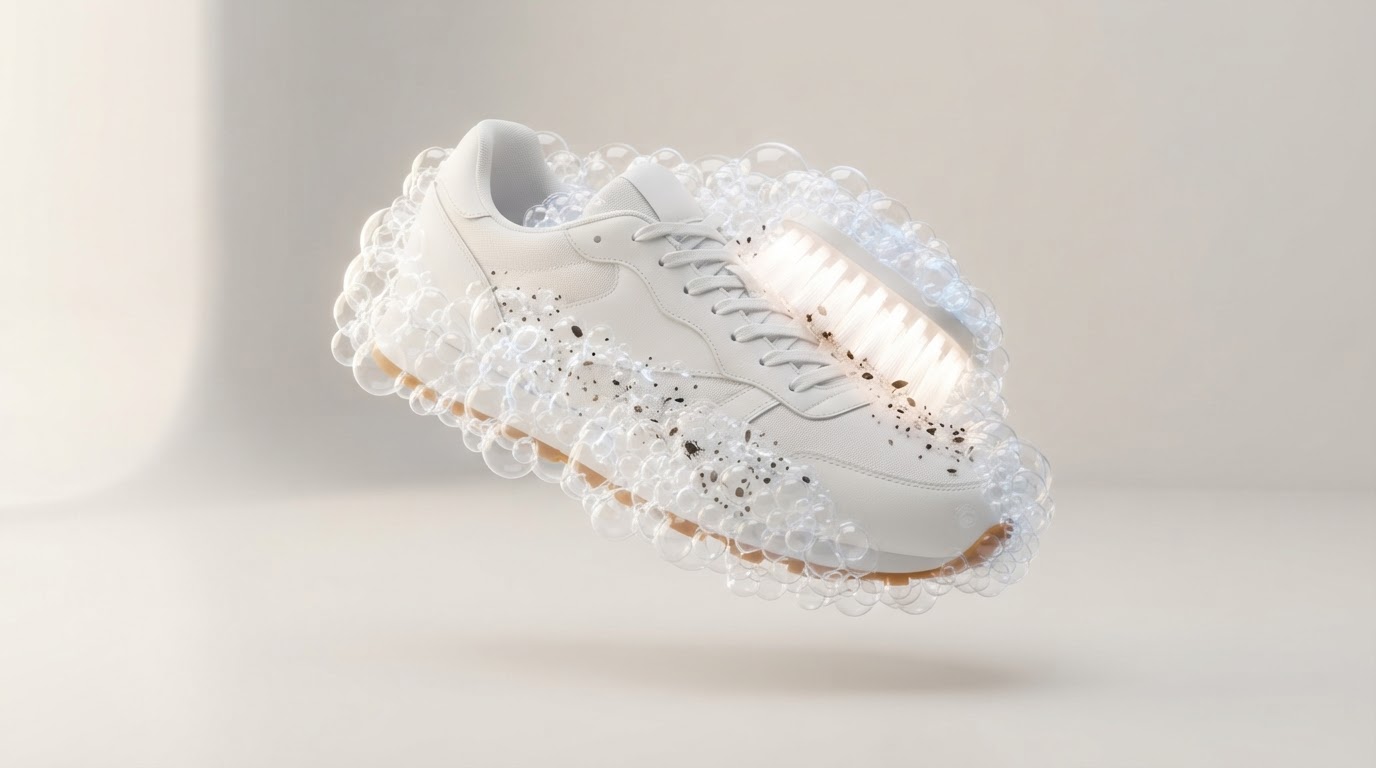
Tap the soles together outside or use a dry brush to remove loose debris before adding any water. This step sounds minor, but skipping it means you’re just smearing dirt around once things get wet.
3. Identify the Material
This is the step people rush past, and it’s the one that determines everything else. Leather, mesh, suede, and canvas all need different treatment. Mixing up the approach is how suede ends up with water rings or leather ends up dried and cracked.
Leather and synthetic leather: Use a damp cloth with mild soap, wipe in small circular motions, then dry immediately with a separate cloth. Avoid soaking leather. It absorbs water and can warp or crack as it dries.
Mesh and canvas: These handle water better. A soft brush with a soapy water mix works fine, and you can be a bit more aggressive scrubbing out stains. Rinse with a damp cloth afterward to remove soap residue.
Suede and nubuck: Never use water on suede unless it’s specifically a suede cleaner. Use a dry suede brush to lift dirt, and a suede eraser for spot stains. Water leaves permanent dark marks on this material almost every time.
Rubber soles and midsoles: These are the most forgiving part of the shoe. A baking soda paste with a toothbrush works wonders on yellowed rubber, especially on white midsoles that have gone dingy with age.
4. Scrub Gently, Section by Section
Work in small areas rather than attacking the whole shoe at once. This keeps you from over-wetting materials and lets you catch stains before they set deeper into the fabric. Circular motions lift dirt better than back-and-forth scrubbing.
5. Wipe Away Residue
Once you’ve scrubbed a section, wipe it down with a clean, damp cloth to remove soap. Leftover soap residue attracts dirt faster, which defeats the purpose of cleaning in the first place.
6. Dry Properly
Stuff the shoes with paper towels or shoe trees to help them keep their shape while drying. Leave them at room temperature, away from direct sunlight or heat vents. Heat speeds up drying but also warps soles and cracks leather, so patience wins here every time.
Material Cleaning Cheat Sheet
| Material | Safe to Use Water? | Best Tool | Common Mistake |
|---|---|---|---|
| Leather | Lightly, no soaking | Damp microfiber cloth | Soaking, which causes cracking |
| Suede/Nubuck | No | Suede brush and eraser | Using water, causing permanent stains |
| Mesh/Canvas | Yes | Soft bristle brush | Machine washing, which warps shape |
| Rubber soles | Yes | Toothbrush with baking soda | Using bleach on colored rubber |
| Laces | Yes, soak them | Bowl of warm soapy water | Leaving them in the wash with the shoe |
Should You Ever Machine Wash Sneakers?
I get asked this a lot, and my honest answer is rarely. Canvas shoes like classic Converse can sometimes survive a gentle cycle in a pillowcase with cold water and no heat drying afterward. Anything with leather, suede, foam midsoles, or glued panels should stay far away from a washing machine. The agitation and heat from the dryer are what usually causes the damage, not the water itself.
If you’re tempted to toss a pair in, ask whether you’d be upset if they came out slightly warped or faded. If the answer is yes, hand wash instead.
Dealing With Odor
Smelly sneakers are a separate problem from dirty ones, and baking soda is still the best fix I’ve found. Sprinkle a generous amount inside each shoe, let it sit overnight, then shake it out in the morning. For a stronger approach, cedar shoe inserts absorb moisture over time and keep odor from building back up between wears.
Rotating your sneakers instead of wearing the same pair daily also does more for smell prevention than any product. Shoes need at least 24 hours to fully dry out between wears, and skipping that leads to bacteria buildup that no amount of cleaning fully solves.
Key Takeaways
Cleaning sneakers well comes down to knowing your material, using the right tool for that material, and being patient with drying. Rushing any of these three steps is where most cleaning disasters happen. Keep a small kit of supplies on hand, clean lightly every couple of weeks instead of waiting for heavy buildup, and your sneakers will hold their shape and color far longer than shoes that only get attention once they’re already trashed.
Grab a brush, pull your dirtiest pair off the rack, and put this process to work today. Your sneakers will thank you, and so will your feet.