
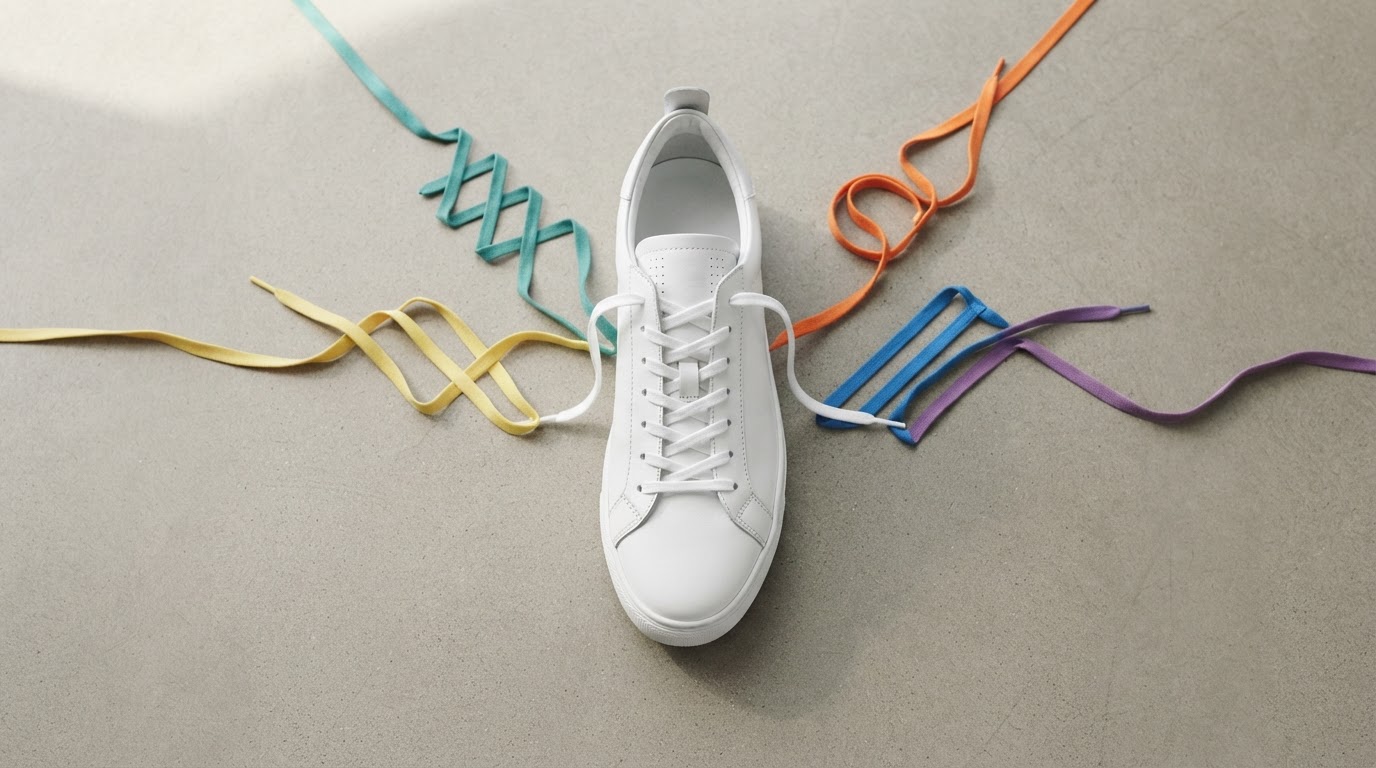
5 Easy Styles for Beginners on How to Lace Sneakers
Most people lace their sneakers the same way they learned as a kid, and never touch that pattern again. That’s a shame, because how you lace a shoe changes the fit, the look, and even how long the laces last. A few simple swaps can fix heel slippage, ease pressure on a wide foot, or turn a plain pair of sneakers into something that looks custom.
I’ve spent years messing with laces on everything from running shoes to high-top basketball sneakers, and I can tell you the payoff is real. You don’t need special tools or fancy laces to start. You just need five minutes and a willingness to unlace what you already know. Here are five beginner-friendly lacing styles that solve real problems and look sharp doing it.
1. Criss Cross Lacing
This is the pattern you already know, the one that comes standard on almost every sneaker out of the box. It’s worth starting here because mastering the basics makes every other style easier to learn.
How it works:
- Start with both ends even at the bottom eyelets.
- Cross each lace diagonally to the opposite side, one row up.
- Repeat the crossing pattern all the way to the top.
- Tie off with a standard knot or bow.
The criss cross method distributes pressure evenly across the top of your foot, which makes it a solid default for walking shoes, casual sneakers, and everyday trainers. It’s forgiving, quick to redo, and works with laces of almost any length. If you’re just getting comfortable with relacing shoes, practice this one first until it feels automatic.
2. Straight Bar Lacing
Straight bar lacing is the style you see on clean sneaker photos, the ones where the laces sit in neat horizontal rows with no visible crossing on the front. It looks sharp on shoes with a low number of eyelets, like classic canvas sneakers or minimalist trainers.
The tradeoff is that this method offers less adjustability for fit since the laces don’t cross to create tension across the width of the shoe. I’d recommend this style for sneakers you slip on and off without retying often, since the look matters more than the fit adjustment here.
Steps to try it:
- Thread one end of the lace through the bottom eyelet from outside to inside, leaving a short tail.
- Run that lace straight up on the inside to the next eyelet on the same side, then push it through to the outside.
- Cross it once to the opposite side.
- Continue alternating so the front shows only straight horizontal bars.
Straight bar lacing takes a couple of tries to get right, mostly because the pattern depends on your shoe having an even number of eyelet rows. Odd-numbered shoes need a small workaround, so check your eyelet count before committing.
3. Lace Lock (Runner’s Loop)
If your heel slips out of your shoe while walking or running, this is the fix. The lace lock, sometimes called the runner’s loop or heel lock, creates extra tension right above the ankle to hold your heel in place without tightening the rest of the shoe.
I use this on every pair of running shoes I own, and it solved a heel-slip problem that no amount of double-knotting ever fixed. It takes ten extra seconds once you know the move.
How to tie a lace lock:
- Lace your shoe normally using criss cross up to the second-to-last eyelet.
- Instead of crossing, thread each lace end straight up into the top eyelet on the same side, creating a small loop on each side.
- Cross the laces and feed each end through the opposite loop.
- Pull tight and tie off as usual.
This works best on shoes with an extra eyelet near the ankle collar, which most running shoes and hiking shoes include specifically for this purpose.

4. Ladder Lacing
Ladder lacing looks complicated but is simple to execute, and it’s my go-to when I want a sneaker to look distinct without changing anything about the fit near the toe box. The middle section of the lacing forms horizontal rungs, like a ladder, while the sides stay tight.
This style pairs well with sneakers that have a wide tongue and enough eyelets to show off the horizontal pattern, at least six per side. Skater shoes and some basketball sneakers work great with this because the ladder rungs sit visibly across the tongue.
Basic approach:
- Start with a straight bar base by threading both lace ends up through the bottom two eyelets from the inside.
- At each row, cross the laces underneath the previous horizontal bar and pull them straight up the same side.
- Repeat until you reach the top, alternating sides for balance.
- Tie off with a standard knot.
Ladder lacing takes a bit more patience the first time, but once you understand the underneath cross, it becomes second nature.
5. Diagonal Lacing
Diagonal lacing gives your sneakers an angled, single-direction look that reads as more fashion-forward than the standard criss cross. Instead of alternating sides symmetrically, the laces all slant one direction, which draws the eye and works especially well on sneakers with contrasting lace colors.
This style suits low-top casual sneakers and skate shoes best, since the diagonal pattern shows off nicely against a flat, wide tongue.
Comparison of all five styles:
| Style | Best For | Difficulty | Adjusts Fit? |
|---|---|---|---|
| Criss Cross | Everyday sneakers | Easy | Yes |
| Straight Bar | Clean, minimal look | Easy | Limited |
| Lace Lock | Running, hiking, heel slip | Easy | Yes, targeted |
| Ladder | Statement style, skate shoes | Medium | Moderate |
| Diagonal | Fashion-forward casual shoes | Medium | Limited |
Picking the Right Style for Your Shoes
Not every lacing style suits every sneaker. A running shoe benefits most from a lace lock because performance and fit matter more than the visual pattern. A pair of canvas low-tops, on the other hand, is a great canvas for straight bar or diagonal lacing since looks take priority over lockdown.
Consider your eyelet count before picking a style. Ladder and straight bar lacing need an even number of rows to look balanced, while criss cross and lace lock work with almost any setup. Lace length matters too. Fashion styles like diagonal or ladder often eat up more lace than a standard criss cross, so you might need a slightly longer replacement lace to pull them off cleanly.

Final Thoughts
Relacing your sneakers costs nothing and takes only a few minutes, yet it can fix fit problems and completely change how a pair looks. Start with criss cross to build confidence, add a lace lock if you deal with heel slip, and experiment with ladder or diagonal lacing once you want your sneakers to stand out.
Grab an old pair of shoes and practice these five styles this week. Once you get comfortable switching between them, you’ll never look at a boring straight-out-of-the-box lace job the same way again.